+ Tracker MT16 has been discontinued.
Unfortunately, the Tracker MT16 platform has been brought to an end. Any new units purchased will be supported to the best of our ability through this FAQ and by e-mailing us at info@JamHub.com, but no new updates to the firmware or the BND Splitter software are planned at this time.
The WiFi capabilities of existing Tracker MT16 units have been nullified by the shutdown of our upgrade servers and Tracker Connect services.
Customers based in the USA with problematic units should turn to the retailer or e-mail us with questions. Customers based outside the USA will need to engage the retailer for any warranty claims.
+ My BND Splitter isn't producing WAV files.
If your BND Splitter claims to have successfully split your BND file, but there are no audio files to be found in the folder, try taking the BND file and the corresponding INFO file and placing them directly on your desktop.
+ What's new for firmware 3.0.2?
– Streamlined encoding process – "Underscore" added to character list for password entry – SD card write-speed test – Squashed other writing bugs – SD card replacement
Replacement program for green Kingston 16 GB Class 10 SD Cards SD card quality is highly variable, causing issues across the music, film, and photo industry. Unfortunately, JamHub has now found itself in the middle of all this. We will be replacing the green Kingston 16BG Class 10 SD cards that shipped with many Tracker MT16s because we feel that they are underpeforming and causing issues like audio jumping.
If you have received one of these cards with your Tracker, please contact us immediately to receive a replacement. If you are interested in larger cards, JamHub will only guarantee quality results using SanDisk Extreme and Extreme Pro cards. To find out if an alternative card will work in your Tracker, upgrade to firmware 3.0 and find the SD Speed Test in the System Settings menu.
In version 2.28…
-Bug fix for the internal clock
In version 2.27…
Your Tracker MT16 will now be equipped with several new features that significantly improve its capacity, capability, and ergonomics.
– Streamlined background processing and automatic bug logging for a smoother user experience
– Revised menu structure based on customer feedback
– All new "Encoder" option for 96kHz audio capture.
In version 2.04…
– USB recording Your Tracker MT16 can now record directly to many FAT32 USB devices for virtually unlimited storage.
– 16 channels of 24/96 audio With USB recording enabled, you can now record at 96kHz to all 16 channels of your Tracker MT16. To record all 16 channels at this extremely high quality level, you must have a formatted USB drive connected to your Tracker, SD cards just can’t handle that much rock.
– Headphone monitoring When your Tracker is armed for recording, the ⅛” headphone jack will be live, letting you plug in and listen for each instrument’s presence and quality while preparing to record. The Up and Down buttons act as volume.
– 4GB file size support Your Tracker will now record 4GB files before automatically starting a new file. No data is ever lost in this process, and the 4GB file size doubles the previous limit of 2GB.
– New Track function added You can now start a new track during recording without stopping and restarting. Simply press the Up button during a recording to create the new track. You will see the change in the LCD screen.
– .INFO files organize .BND files Your Tracker will now create a .info file to help keep your channels organized when you recording in Combined mode. Future revisions to the available BND splitter will use these .info files to properly map the channels in your recording.
+ SD Card Recall: Green vs Gold Tracker cards
Many early Tracker MT16 boxes were shipped with green Kingston 16GB Class 10 SD cards. These cards do not perform to our satisfaction, and can experience to errors that result in unusable audio. If your Tracker shipped with one of these cards, please contact us via info@JamHub.com for a free replacement. Only use SanDisk Extreme or Extreme Pro SD cards, or USB 2.0 drives, to capture audio with your Tracker MT16.
+ Which SD card should I use?
The JamHub engineering team has certified SanDisk Extreme and Extreme Pro Class 10 cards up to 64GB. Please only use these cards in your Tracker MT16, as many SD cards available on the market today are not fast enough for quality multitrack recording and may produce errors.
+ How do I insert and safely remove my SD card?
When inserting your SD card, make sure the gold contacts face up. Do not force your card into the slot. When removing your SD card, make sure to disarm your Tracker. The red record light and the green armed light should both be off.
+ What happens when I run out of space on my SD card?
While you are recording, you will see the remaining space on your SD card in the bottom right portion of the Tracker MT16’s screen. If you are recording in Split mode, your recordings will automatically stop with 2GB remaining in order to ensure proper encoding. If you are recording in Combined mode, your recordings will automatically stop with 100MB remaining.
+ Which USB drives should I use?
When choosing a USB drive for you Tracker MT16, please be sure to only use USB 2.0 compatible factory enclosed drives. Drives combining an old hard drive and aftermarket enclosure are not guaranteed to work, and USB 3.0 drives may result in audio errors.
+ Why are some of my file broken into two tracks?
FAT32 SD cards have a native file size limitation of 4.29GB, after which they must start writing data to a new file. When your recordings cross the 4.29GB line, they will automatically begin a new take. You will lose a very small quanity of data when this break occurs. When recording in 48kHz, the break will occur around 35 minutes. To avoid losing data in the middle of a song, press the Up button while recording to start a new track during a lull.
+ How do I know which firmware my Tracker is using?
You can check your software revision number through: Settings → Status → Firmware Rev
+ How do I update my Tracker's firmware?
Your Tracker MT16 will automatically prompt you to update when connected to the internet. Make sure you have a formatted SD card inserted with at least 1GB of free space. If your Tracker is currently running 2.4 or below, the update will download and begin automatically. When prompted, restart your Tracker and you will be all set. If your Tracker is running 3.0 or above, you will be alerted to the presence of new firmware. Press Select and you will be prompted with an Update? Yes/No option. Press Select again to choose. Your Tracker will restart automatically upon completion. The whole process takes less than 5 minutes. If you have issues updating your Tracker MT16 software please contact us.
+ How do I turn my Tracker's wireless connectivity on?
To get your Tracker MT16 onto a wireless network, you’ll need to follow a few simple steps.
First, go through the Settings menu into the Network menu, and then into the WiFi menu.
Make sure that the WiFi option is set to Off.
Scroll down to WiFi SSID and press Select. This will inspire your Tracker to scan the available wireless networks, which you can then scroll through to select the one you want. Select your network, and in the WiFi menu scroll to WiFi Password, where you can use the Up, Down, and Select buttons to enter the password. Enter your password, then press and hold Select for 3 seconds to save the password.
Finally, scroll up and turn WiFi On.
+ What if my WiFi network has no password?
When activating the wireless functionality on your JamHub Tracker MT16, the default security settings presume that your network will be protected by a password. If this is not the case, you will need to change your security settings. System Settings > Network > WiFi Settings > WiFi Security
The default security is set to “WAP,” enter the menu and scroll to “None.” Now you can turn WiFi on without needing to enter a password.
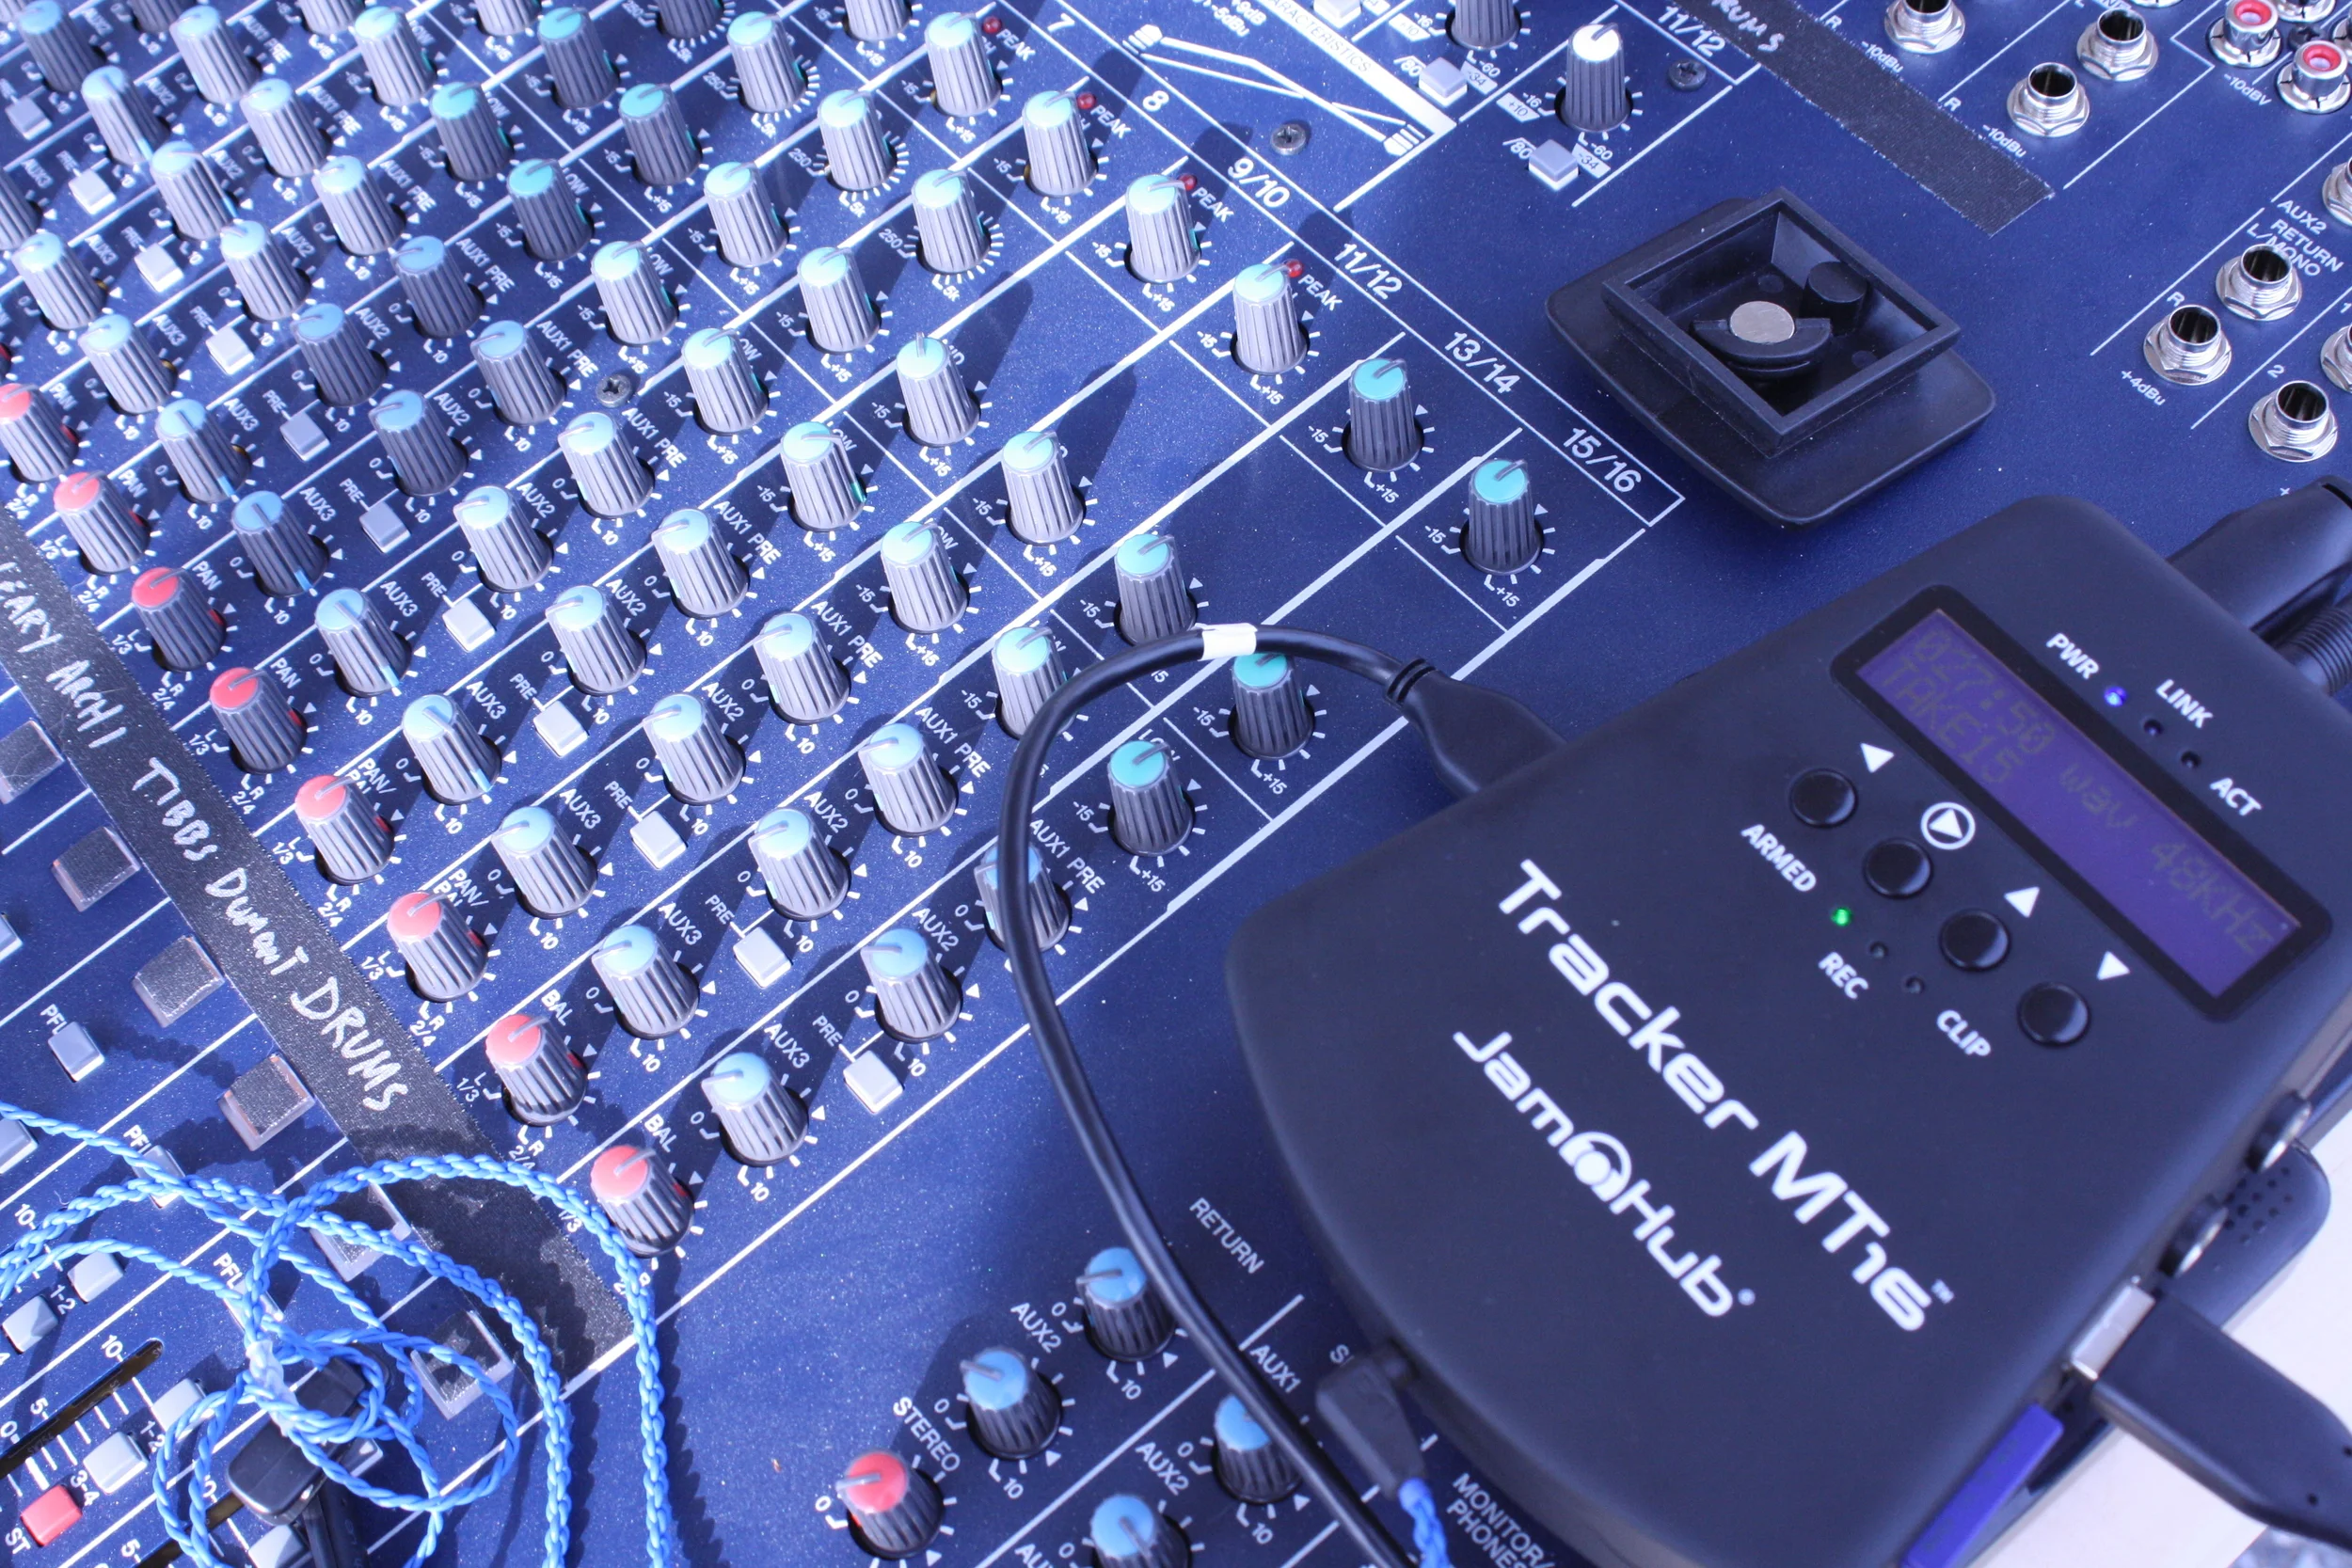
+ Should I use the built-in inputs or the breakout snake?
Your Tracker MT16 can connect to an analog mixing desk via the available breakout snake or using the 8 built-in inputs, and knowing when to use which will help you get great recordings. If you are recording a band with less than 8 channels, use the built-in inputs, not the breakout snake. The breakout snake has a lot of wire in it, and wire, when left dangling or ungrounded, acts like an antenna. If you are in an acoustic duo using 4 channels, that will leave 12 channels picking up signal from the world around them and transferring it into the wires you are using. This can create crosstalk and noise issues. If you are using the breakout snake to record only a few channels, it is advisable that you ground any open tips with a bit of wire and tape.
+ When should I use the headphone jack?
The headphone output on your Tracker MT16 is active only in Arm mode, and passes 16 channels of post-conversion digital audio through to your earbuds. You can adjust the volume using the Up and Down buttons. Because all 16 channels are coming through at once, regardless of how many channels you have armed, it is advisable that you only use the Tracker’s headphone output to check for the strength of specific signals, rather than for signal-to-noise ratio or clarity. In playback mode, you will hear all 16 channels of audio in their unmixed state. Because of this, hotter signals may overpower others or outright prevent you from hearing weaker signals. Recordings should be evaluated in a DAW to avoid any issues.
+ What's a BND file?
A BND file is a form of multitrack file that saves all of your high quality audio without compression, but streamlines the process of encoding and uploading. BND files can be broken into their component files by using the BND Split Utility, or loading the files into the open source DAW, Audacity.
+ How do I use a BND file with my DAW?
To manipulate the audio in your BND file, you will either need to open it directly in the free open-source DAW called Audacity or break the BND files out into their component WAV or MP3 files, which you will be able to drag and drop.
+ How do I split a BND file into its component audio files?
Download the BND Split Utility onto your computer. For Mac users, launch the Split Utility and select File → Open in the top menu, then select the file you wish to split. For PC users, launch the Split Utility and drag the file you wish to split into the window for easy processing.
When opening the splitter for the first time on a Mac, you may receive a warning that the program was created by an unidentified developer, and cannot be opened. We are working to become an Identified Developer with Apple, and to open the file as it is today you may need to simply alter your security settings in preferences to allow you to open the program.
+ Should I still split my BND files if I'm using Audacity?
BND files can open natively in Audacity, which is fantastic for quickly referencing your audio to look for a particular song or if you’re just getting into multitrack recording and want a reliable, free, open-source DAW to experiment in. However, opening your BND files in Audacity does come with a couple of caveats that have to do with the data stored in your INFO file, which is not accessed by the DAW.
First, you will notice that your tracks are out of order. The INFO file tells the splitter how to lay out your tracks so that they match your recording setup.
Second, if you record in 44.1 or 96kHz, the BND splitter does more than just split your files. It does additional processing to ensure quality, and if you do your post-production without splitting you will not be using true 96kHz audio. In fact your audio will seem slightly out of time should you run it against a backing track or alternative recording. If you captured in 48kHz, you do not need to worry about this, but if you recorded in 44.1 or 96kHz, always use the BND splitter before engaging any heavy production.
+ Where can I download the BND split utility?
You can find the download link for the split utility at the top of this page.
+ What if the BND splitter doesn't work?
If your splitter appears to do nothing or does not produce tracks, the first thing to check is that you have moved both the BND and INFO files off of your SD card and onto your computer in the same directory or folder. If you do not have an INFO file, please contact us.
File splitting should take less than a minute, if it does not, turn your computer off and then on again before repeating the attempt. If your BND splitter still refuses to produce files, please contact us.
+ What are your recommended settings?
Record Mode: Combined MP3 or WAV: WAV Sample Rate: 48 kHz Encoder: OFF
+ Can I use my Tracker as an interface or soundcard?
At this time, the Tracker MT16 does not have the drivers to open a 16 channel audio feed into your computer-based DAW.
+ What's the difference between Split and Combined mode?
Split mode will record each channel that you have armed as its own separate file, making it easy to drag and drop files into your DAW, but requires sufficient time for encoding the individual files onto the SD card after you have stopped the recording.
Combined mode allows for much faster encoding of files by bundling the component WAV or MP3 files of your multitrack into a single BND file.
You can choose either combined or split mode under: Settings → Audio → Rec Mode
+ Which file formats can I record in?
You can record music in .WAV or .MP3 file formats.
You can choose your file format under: Settings → Audio → Format
+ Can I record MP3 in Combined mode?
At this time, your Tracker MT16 does not support recording MP3 files in Combine mode, it will automatically save data in WAV when this combination of settings is selected.
+ How do I set the sample rate for my recordings?
You will find the sample rate selection menu under:
Settings → Audio → Sample Rate
+ What's the difference between 44.1, 48, and 96kHz?
Sample rates, like 44.1, 48, and 96kHz, are used to identify the number of times an analog to digital converter records data per second. As sample rate goes up, the presumed quality of the file goes up, as does file size. 44.1kHz is commonly known as “CD quality” because that is the sample rate found on CDs. 48kHz is an extremely high quality sample rate that will provide most musicians with recordings that are nearly indistinguishable from pure analog recordings. 96kHz is even greater, and is mostly used by artists who are interested in heavily manipulating their audio recordings, stretching and affecting the sounds beyond the point of cleanliness for mere 48kHz samples.
+ How can I record in 96kHz?
At this time, recording in 96kHz is only supported using the built-in inputs or the available Breakout Cable, and will only capture audio on channels 1–8. This is because SD cards have a native file size limitation of 2GB and 96kHz audio records files are simply too large to efficiently work well with that limitation. Be on the lookout for Software Revision 2.0, when USB recording will be supported. Then you will be able to record on an external hard drive and take full advantage of all 16 channels of 96kHz recording. Rev 2.0 will also make it possible to record at 96kHz with your JamHub studio.
+ How do I connect my Tracker to...
Your Tracker MT16 is designed with flexibility in mind, featuring 8 inputs on the body, and an easy single connection point for connecting to any JamHub studio or for plugging in the available Breakout Cable.
To connect to a JamHub studio
- Plug the included JamHub connect cable into the jack on your Tracker MT16 and then into any of your Remote ports. Set the trims on your instruments and you’ll be all set to record!
To plug into a mixer using the insert jacks *Either connect a TRS cable between the 8 built-in inputs and the insert jacks, or use the Tracker MT16 Breakout Cable (sold separately).
It is important to note that the tips on the Tracker MT16 Breakout Cable appear to be TRS, but are, in fact, mono. If you need to plug them into an alternative stereo audio source, you will need to use a Half Insert and will only get a mono audio signal.
+ What's mapping and why does it matter?
Your Tracker MT16 needs a little bit of information about the world around it, specifically whether you’re connecting to a Mixer or to a JamHub studio, in order to properly label the individual tracks you record, i.e. that Channel 1 of your mixer records to Channel 1 of your Tracker MT16, OR that Section 1 of your JamHub studio records to Channels 1 and 2.
To set your mapping options, use Settings → Audio → Mapping and choose Breakout, JamHub, or TRS for the built-in inputs.
+ I plugged it in, how do I know I'm getting signal?
To check your signal connectivity, first turn up the gain on the mixer’s trim control until the clip light flashes on your Tracker MT16, and then turn it back down to the desired level. While your Tracker is armed, you can also listen to the digitally converted audio feed through the 3.5mm headphone jack. When the Tracker is armed, the clip light will be active, but the headphone jack will not.
+ The clip light is flashing when I play, what do I do?
Your Tracker MT16 is designed to receive Post-Trim, Pre-Fader audio, so if your unit is clipping, you will need to turn the trim down at the audio source or on the mixer. There are no gain controls on your Tracker.
+ How do I reveiw my files?
In the top nav, you will find the Play option. Simply select one of your recorded files and play them individually to assess quality. Audio captured in Combined mode will only be playable as an unmixed group, so you will mostly hear the hottest signals. In order to review the individual tracks, you will need to use your computer.
+ How do I change the name of my recordings?
To change the name of a track you are about to record, arm your Tracker MT16 and hold the Down button for 3 seconds. A cursor will begin to flash and you will be able to scroll through the available characters to change the name. Hold REC for 3 seconds to save the file name. You cannot rename recorded files.